Install Jupyter lab as a service using supervisor in Ubuntu

Install supervisor

# update apt 
sudo apt-get update -y

# install supervisor
sudo apt-get install supervisor -y

# check if supervisor is running fine
sudo systemctl status supervisor

Enable Supervisor Web Interface

# edit supervisor configuration file
sudo nano /etc/supervisor/supervisord.conf

Add the below line in the end of supervisor.conf file

[inet_http_server]
port=*:9001
username=admin
password=admin
# restart supervisor to see your conf changes
sudo systemctl restart supervisor

Install Jupyter lab

Check the official website for latest installation instructions. Below line is what I used.

# run one of the below installation PIP
pip install jupyterlab
# or
pip3 install jupyterlab

Run jupyter lab

jupyter lab

If you get an error that this command is not found, then you probably need to add this command to your system PATH

Edit the bashrc file

nano ~/.bashrc

Add the below line to the end of this file

export PATH="$HOME/.local/bin:$PATH"
source ~/.bashrc

Now try running jupyter lab command again, it should work fine

Installing Jupyter as a service

Create a conf file inside supervisor conf directoruy

sudo nano /etc/supervisor/conf.d/jupyter.conf

Paste the below code in the jupyter.conf file

[program:jupyter]
command=/home/panther/.local/bin/jupyter lab --port 5000 --no-browser --ip="0.0.0.0" --NotebookApp.token='' --NotebookApp.password=''
user=panther
autostart=true
autorestart=true
startretries=5
numprocs=1
startsecs=0
process_name=%(program_name)s_%(process_num)02d
stderr_logfile=/var/log/supervisor/%(program_name)s_stderr.log
stderr_logfile_maxbytes=10MB
stdout_logfile=/var/log/supervisor/%(program_name)s_stdout.log
stdout_logfile_maxbytes=10MB

NOTE:

  1. change the user value
  2. add a password to --NotebookApp.password
  3. change the home directory in command, mine is panther so it is /home/panther. Yours is most likely ubuntu

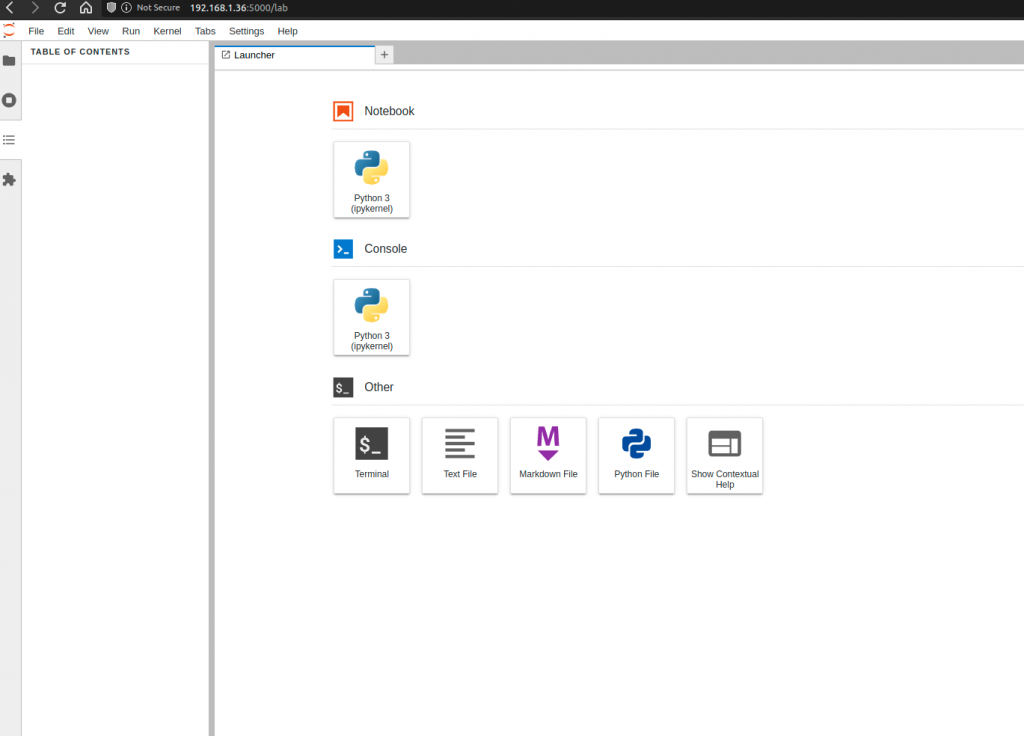
Access the app from browser

http://<IP>:5000/lab

Flutter Recipe – Multiline TextField which expands with text

List of features I need from my TextField

  1. It should be multiline, default is single line
  2. It should submit on pressing Enter key or Send button
  3. It should expand automatically when text is added to it
  4. It should autofocus
  5. I can use SHIFT+ENTER to add new line without submitting the text

The below mentioned widget class fullfills all my above mentioned features

final TextEditingController textFieldController = TextEditingController();

class TextInputsWidget extends StatelessWidget {
  const TextInputsWidget({Key? key}) : super(key: key);
  
  void sendMessage() {
    if (textFieldController.text.isNotEmpty) {
      // send this to the server.
      print(textFieldController.text);
      chatTextFieldController.clear();
    }
  }
  @override
  Widget build(BuildContext context) {
    return Expanded(
       /// 5. I can use SHIFT+ENTER to add new line without submitting the text
        child: RawKeyboardListener(
      //for physical keyboard press
      focusNode: FocusNode(),
      onKey: (RawKeyEvent event) {
        if (event.isShiftPressed &&
            event.logicalKey == LogicalKeyboardKey.enter) {
          // ignore
        } else if (event.logicalKey == LogicalKeyboardKey.enter) {
          sendMessage();
        }
      },
      child: TextField(
        scrollPhysics: ScrollPhysics(),
        /// 1. It should be multiline
        keyboardType: TextInputType.multiline,
        /// 3. It should expand automatically when text is added to it
        maxLines: null,
        /// 2. It should submit on pressing Send
        textInputAction: TextInputAction.send,
        /// 4. It should autofocus
        autofocus: true,
        /// 2. It should submit on pressing Enter key
        onSubmitted: (val) => sendMessage(),
        controller: textFieldController,
        decoration: const InputDecoration(
          hintText: "Write message...",
          hintStyle: TextStyle(color: Colors.black54),
          focusColor: Colors.amber,
          border: OutlineInputBorder(
            borderRadius: BorderRadius.all(Radius.circular(4.0)),
          ),
        ),
      ),
    ));
  }
}

Wrap the textfield around RawKeyboardListener to listen to keyboard events and filter our SHIFT+ENTER

Python Recipe – Return Sqlalchemy date in isoformat

when decoding the data into a list, for time columns using the isoformat() method as shown in the above image.

class Message(Base):
    __tablename__ = 'message'

    id = Column(UUID(as_uuid=True), primary_key=True, default=uuid.uuid4)
    time_created = Column(DateTime(timezone=True), server_default=func.now())
    time_updated = Column(DateTime(timezone=True), server_default=func.now())

    def to_json(self):
        # get columns data
        data = {}
        columns = list(self.__table__.columns)
        for column in columns:
            if column.name == 'time_created':
                data[column.name] = self.time_created.isoformat()
            elif column.name == 'time_updated':
                data[column.name] = self.time_updated.isoformat()
            else:
                data[column.name] = self.__dict__[column.name]
        return data

Rearm Windows trial license

The test virtual machines provided by Microsoft expire after 90 days, they start shutting down on their own while you are working. There is way to extend it after its expiry.

Open command prompt in admin mode and execute the below command

slmgr -rearm

Restart your machine and then execute the below command in prompt to check the licence information

slmgr -dlv

Now activate your licence

lmgr -ato

With this trick you can renew your licence 3 times beyond the 90 days expiry.

Removing docker containers and Images

There is a way to remove more than one images at a time, when you want to remove multiple specific images. So to do that first get Image IDs simply by listing the images then execute the below mention command

docker rmi <your-image-id> <your-image-id> ...

If I want to remove all images at once, execute this.

docker rmi $(docker images -q)

To remove All Unused Docker Objects

docker system prune

docker container prune

docker image prune

docker volume prune

docker network prune

To remove All Stopped Containers

docker container rm $(docker container ls -aq)

nginx configuration for wordpress in the subdirectory

I run my wordpress application on a local server, I write my content in this sandboxed server and then convert my website into html files and server it from s3 bucket as a static site. I helps me keep my server costs low and also keeps my website secure from unwanted attacks. I have multiple sites hosted within single nginx server and they are hosted a subdirectories. The below configuration helps me achieve that

server {
	listen 80 default_server;
	listen [::]:80 default_server;

	root /var/www/;
	index index.php;

	location = /favicon.ico {
			log_not_found off;
			access_log off;
	}

	location = /robots.txt {
			allow all;
			log_not_found off;
			access_log off;
	}

	location / {
		try_files $uri $uri/ /index.php?$args;
	}

	location ~ \.php$ {
		include fastcgi_params;
		fastcgi_intercept_errors on;
		fastcgi_pass unix:/run/php/php-fpm.sock;
		fastcgi_param  SCRIPT_FILENAME $document_root$fastcgi_script_name;
	}

	location ~* \.(js|css|png|jpg|jpeg|gif|ico)$ {
			expires max;
			log_not_found off;
	}

	location /muthu {
			try_files $uri $uri/ /muthu/index.php?$args;
	}

	location ~ \.php$ {
			fastcgi_split_path_info ^(/muthu)(/.*)$;
	}

}

My website folder is present in the /var/www/ directory

Correct file permissions for wordpress

To keep your wordpress application secure, it’s root folder should be owned by www-data user. www-data is the user that web servers like Apache and Nginx on Ubuntu use by default for their normal operation. The web server process can access any file that www-data can access. It has no other importance.

If your wordpress folder is owned by root or any other user other than www-data, there is a change that you may not be able to install plugins, add themes or even upload files to your website from the dashboard. To fix the permissions you must execute the below mentioned commands in your shell.

sudo chown www-data:www-data  -R /var/www/wordpress_directory

Also fix the directory and file permissions using the below command

find . -type d -exec chmod 755 {} \; # directory permissions rwxr-xr-x
find . -type f -exec chmod 644 {} \; # file permissions rw-r--r--